Printmaking TechniquesWe promote original handmade prints because we believe in their superb craftsmanship, aesthetic value and integrity.
The Castle Gallery, Inverness, is renowned for its extensive collection of handmade prints from artists who are amongst the leading exponents of original prints in the UK, including many who have been elected to the Royal Society of Painter-Printmakers such as Mychael Barratt, Trevor Price, Karolina Larusdottir, Angie Lewin, Veta Gorner and Brenda Hartill. With over 30 years of experience in the printmaking world, the director of the gallery, Denise Collins, and her staff have expert knowledge and appreciation of handmade prints. |
|
What is an Original Handmade Print?
An original print is created by the hand of the artist. An etching, aquatint, drypoint, mezzotint, woodcut, wood engraving, linocut, collagraph, screenprint and lithograph are examples of a handmade print. These all begin with a ‘printmaking matrix’ which is made by hand from various materials including metal, fabric, stone, wood, cardboard and lino and into which an image is created. When paper is laid against this matrix and pressure applied the image in the matrix is transferred to the printing paper. Printmaking techniques, in addition to screenprinting and lithography, can be broadly categorised thus: ‘Intaglio’ prints in which the ink is transferred out of an incised line e.g., etching, aquatint, drypoint and mezzotint. ‘Relief’ prints in which ink is transferred from the higher relief areas of a surface e.g., woodcut, wood engraving and linocut. These printmaking processes require skill and can be highly technical and time-consuming. An artist-printmaker can spend weeks, even months, working on a particular print in order to achieve the desired effects and for this reason they are justifiably appreciated as original works of art. What is an Original Limited Edition Print?
The metal or stone plate, wood or lino block or screen needs to be inked up for each and every print in an edition. The number of prints in a limited edition may range anywhere up to 200 and the length of an edition is ultimately limited by the durability of the printmaking materials and the patience of the artist. The prints are inspected, titled, signed and numbered by the artist, usually in pencil. In addition to the declared number of prints in an edition, the artist may print up an additional extra 10% and these are classed as artist’s proofs and designated as ‘ap’ on the print. Occasionally, an artist may choose to sell a trial proof, ‘tp’, and these are early workings of the print design in which the artist may be experimenting with different colours or compositions before deciding on the final version for the full edition. If signed, these artist’s proofs and trail proofs have exactly the same value as others in the edition and they are usually sold by an artist once the edition has sold out. Prints are not necessarily numbered in chronological sequence, and so number 1 is in practice seldom the first one printed. Since 1880, when the Royal Society of Painter-Printmakers was established, artists have been endeavouring to validate the worth of original prints by numbering and signing them. Recently, publishers of reproduction prints have been mimicking these conventions in order to pass off giclée prints as original prints, cynically marketing them as ‘artist’s prints’, ‘fine art prints’ or ‘limited edition prints’. These are in fact ink-jet produced reproductions of art created in another medium, such as an oil painting. When you purchase an original print you are buying something of integrity by an artist who has put heart and soul into it. That can’t be said of a reproduction giclée print. |
Etching & Aquatint
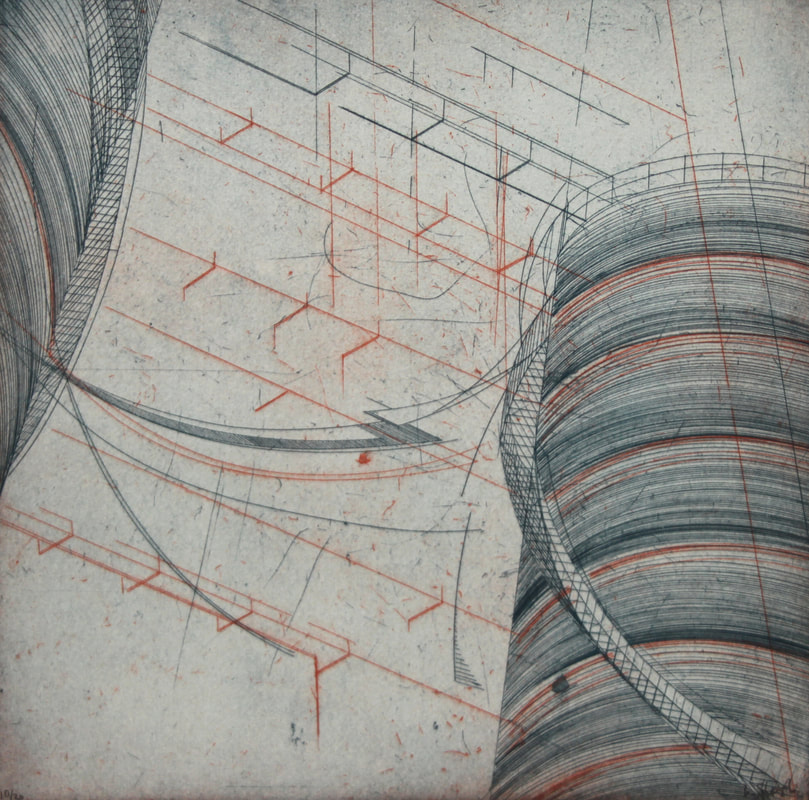
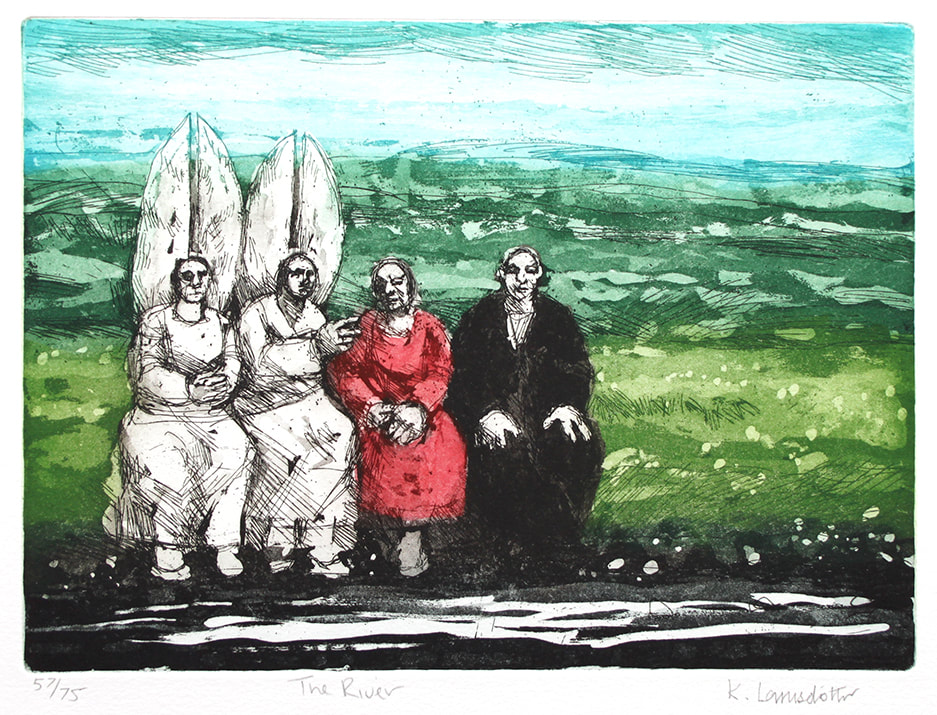
Etching starts with a metal plate, usually copper, zinc or steel, which is coated in an acid-resistant wax or ‘ground’. The artist then draws lines into the wax using a needle-like tool exposing the metal underneath. The plate is then immersed in a bath of acid for a set period of time where the acid will erode or ‘bite’ the exact same drawn image into the metal below through the lines which have been exposed with the removal of the wax. The longer the plate is in the acid, the deeper the bitten line, therefore the more ink it will hold and the darker it will print. ‘Stop-out varnish’ can be used on the plate to halt the progress of the acid in order to keep lighter lines or white highlights.
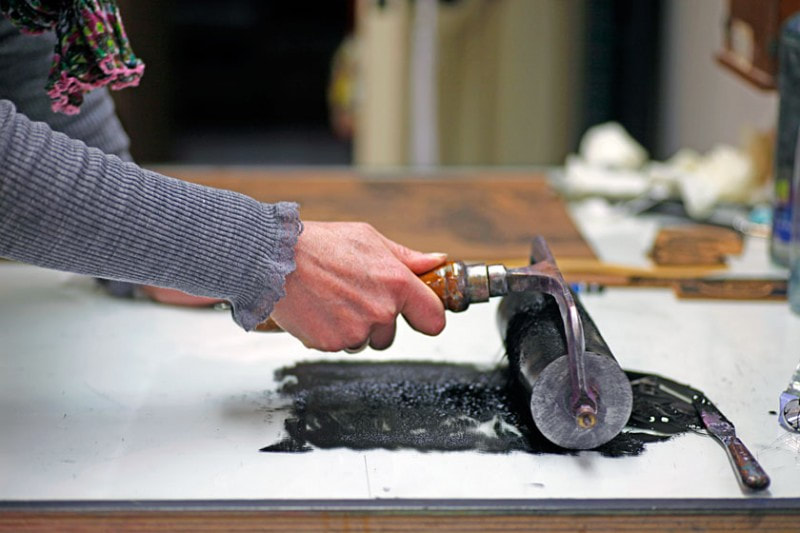
The etching is printed by forcing ink into the bitten lines and tonal areas of the plate. The surface of the plate is wiped clean, dampened paper placed on top and then it is run through an etching press.
|
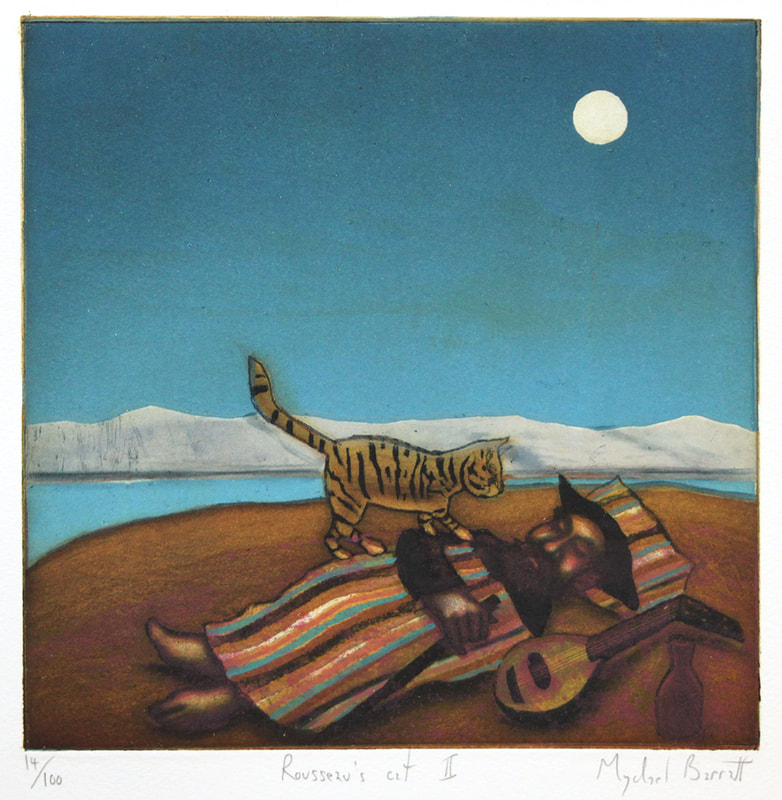
Tone can be created with the use of a fine dust of acid-resistant ‘aquatint resin’ which is applied to the surface of the plate using heat. When the plate is immersed in acid, the acid will bite all the microscopic areas around each individual particle of resin, and these areas will then hold ink creating the tonal effect. Different tones are produced by ‘stopping out’ successive parts of the plate after each bite in the acid.
There are two main methods of creating colour etchings. Separate plates can be created for each colour and one colour printed on top of the next. Alternatively, different parts of one plate can be inked up with differing colours using small swabs of muslin or a cotton bud. |
|
|
Mezzotint
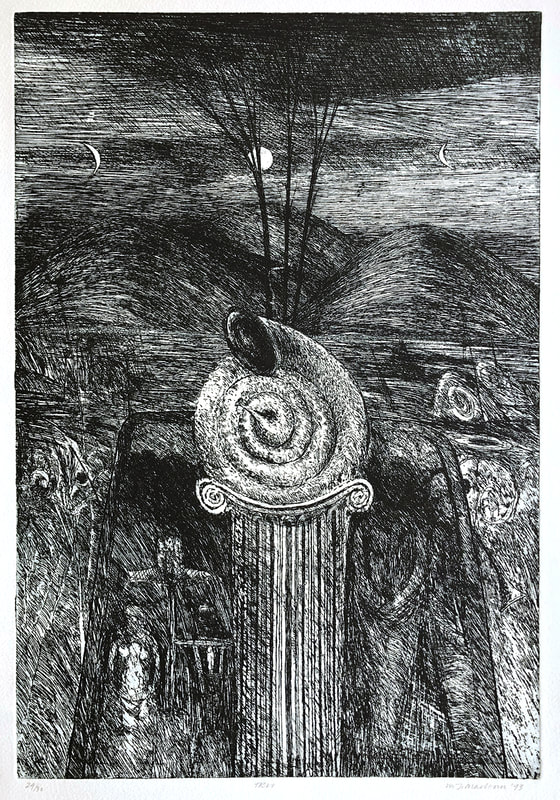
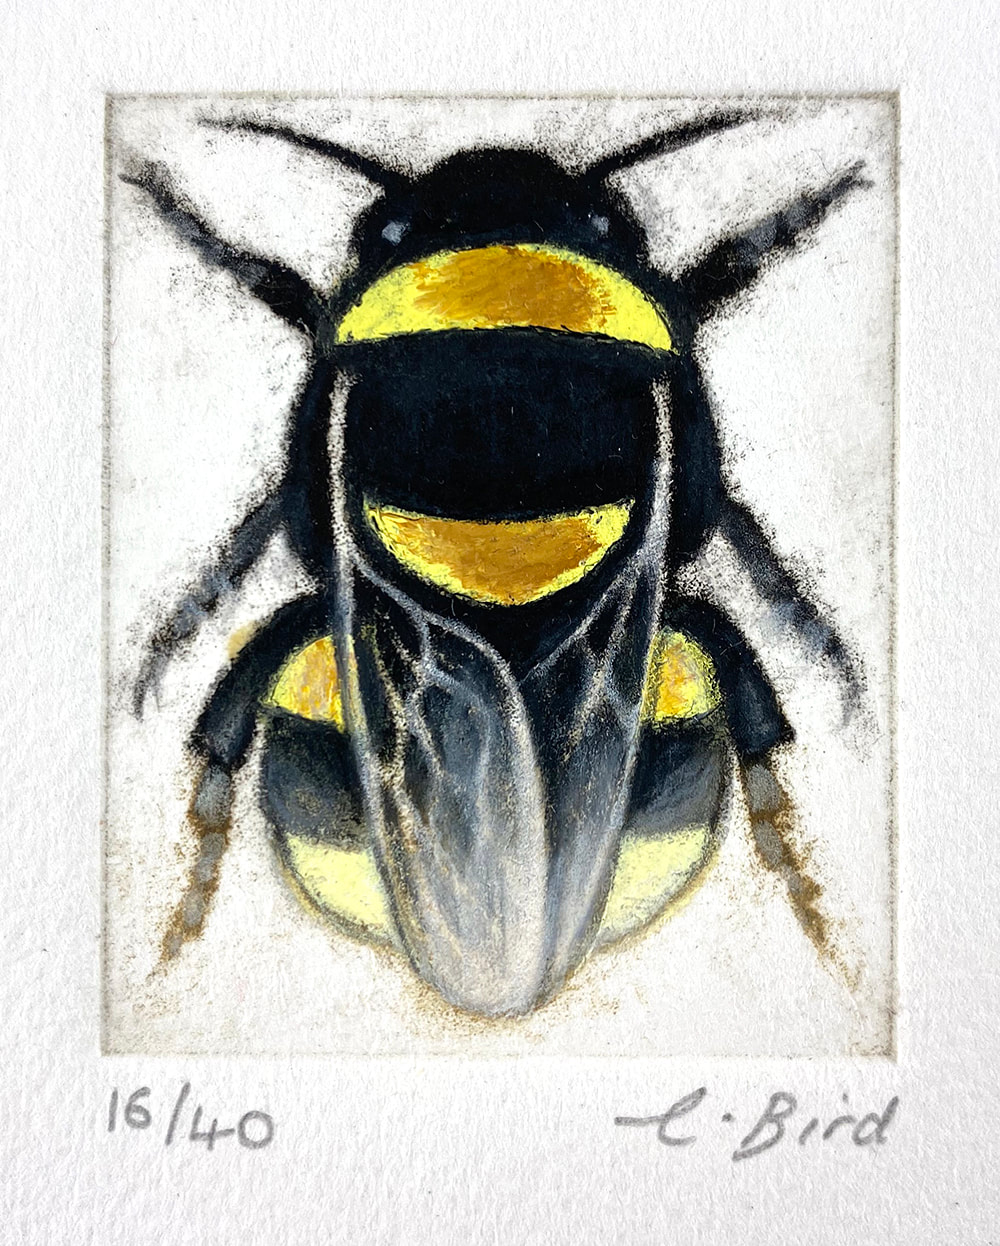
Mezzotint involves the roughening of the smooth surface of a metal plate with a serrated steel tool or ‘rocker’ creating a uniform mass of dot indentations. If inked up, this plate would print onto paper as a solid, rich, velvety black. The principle of a mezzotint is that the plate, once prepared, is worked from dark to light using a burnishing tool to flatten the metal shavings ('burr') created by the dots. Removing burr means less ink will adhere and the lighter the image will print. It is a tonal technique and relies on soft gradations to create an image and not line. Mezzotints are traditionally printed in black ink and any colour required can be painted on the print after it has dried. Alternatively, several plates can be created, inked up and printed one on top of the other to give a dense, luxurious combination of colours. |
|
Drypoint
Drypoint is a printmaking technique in which an image is incised into a metal plate by directly scratching the surface with a hard, sharp metal point. This causes a raised ridge or ‘burr’ of metal – rather like soil thrown up with a plough. Ink is pushed into the grooves, scratches and burrs of the plate and the surface then carefully wiped clean before the plate is passed through an etching press. The burr holds some ink when printed forming a characteristically soft and blurry line quality. The pressure from the printing press tends to wear down the burrs quite quickly and so drypoints are usually only available in small editions. Drypoints were traditionally created on a soft metal plate, such as copper, but contemporary artists also work on acrylic sheet and use a variety of tools such as soldering irons, nails and files to create similar effects. |
Woodcut
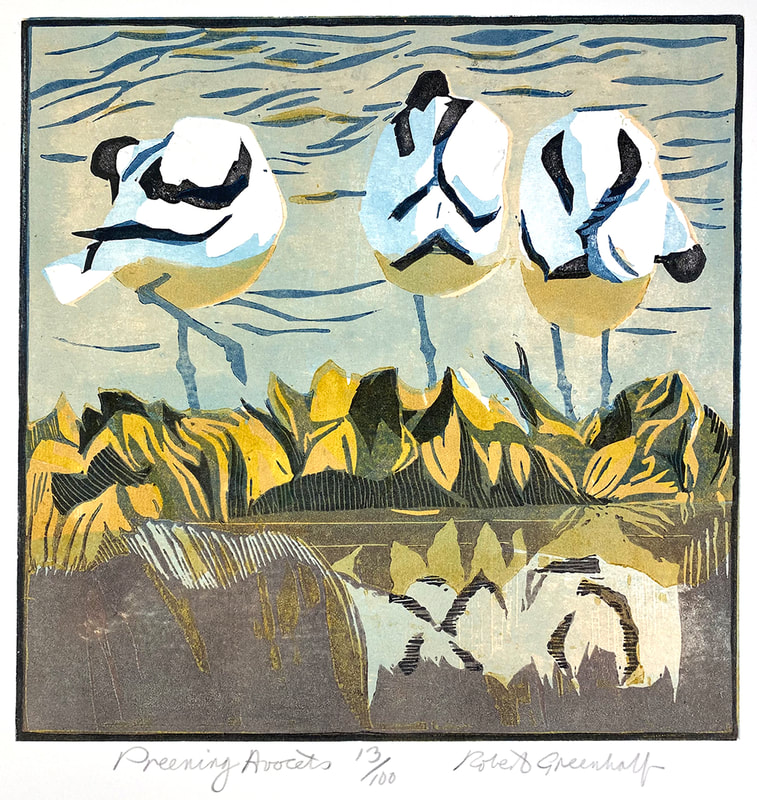
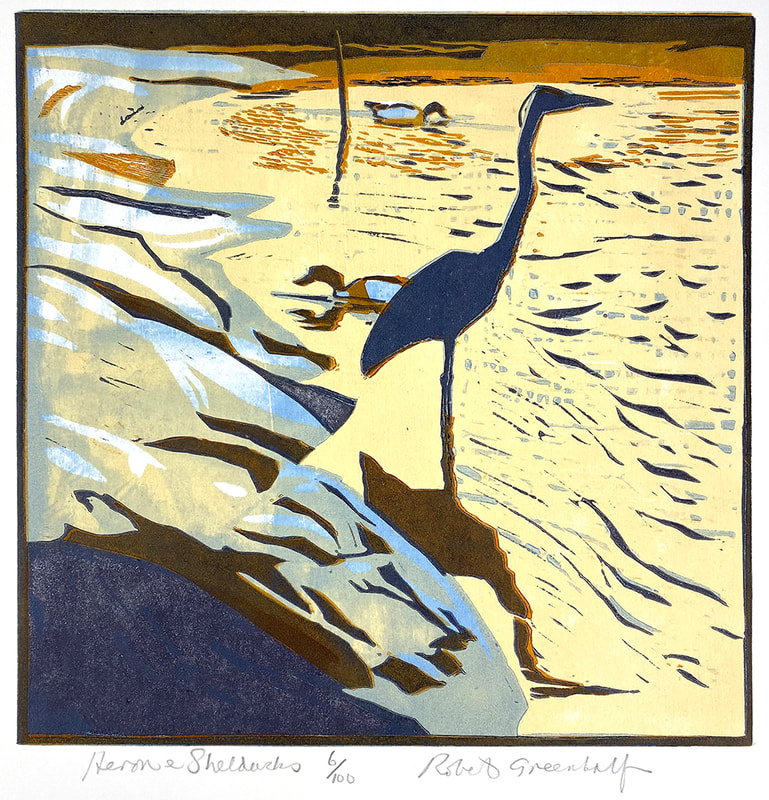
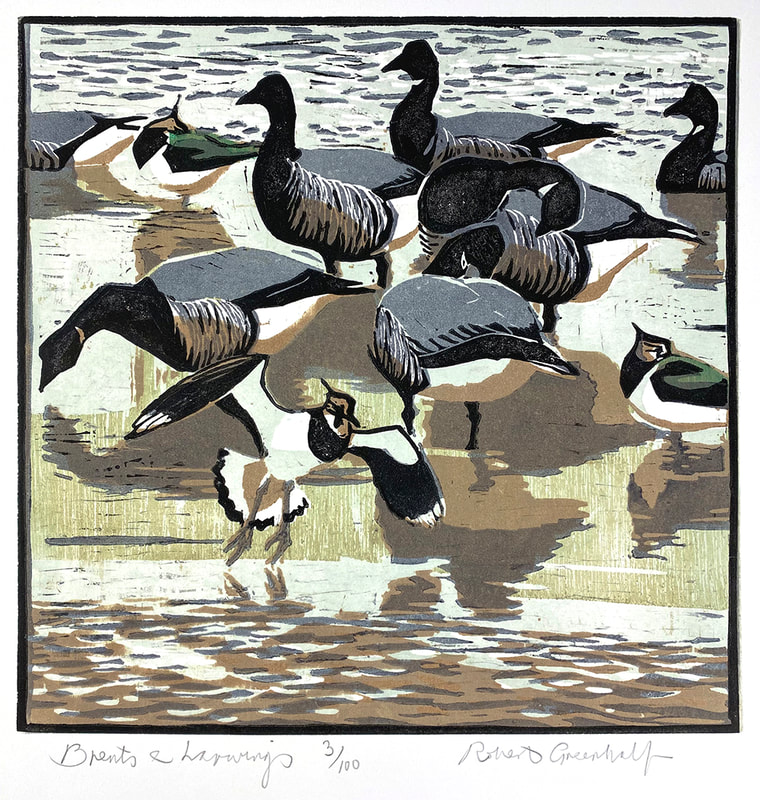
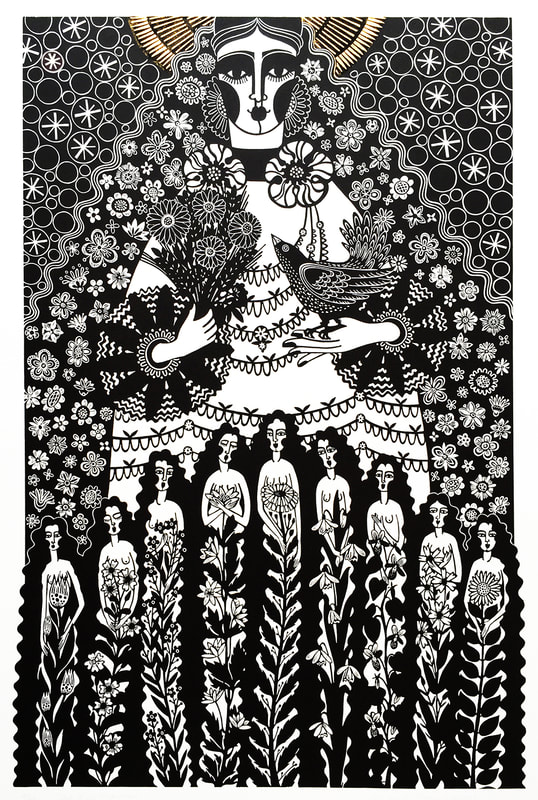
A woodcut, as the name suggests, is a handmade print that has been taken from a piece of cut wood. The grain of the wood is cut lengthways giving a surface that is relatively easy to cut with gouges, chisels and knives. Once inked, the image is transferred from the top surface of the block of wood to the paper, usually through a printing press, although it can also be done by hand, using a baren, spoon or similar tool rubbed on the reverse of the paper. Any incision in the wood produces a white area. Generally, woodcuts have bold blocked areas of flat colour making them ideal for strongly defined compositions.
A woodcut, as the name suggests, is a handmade print that has been taken from a piece of cut wood. The grain of the wood is cut lengthways giving a surface that is relatively easy to cut with gouges, chisels and knives. Once inked, the image is transferred from the top surface of the block of wood to the paper, usually through a printing press, although it can also be done by hand, using a baren, spoon or similar tool rubbed on the reverse of the paper. Any incision in the wood produces a white area. Generally, woodcuts have bold blocked areas of flat colour making them ideal for strongly defined compositions.
|
Wood Engraving
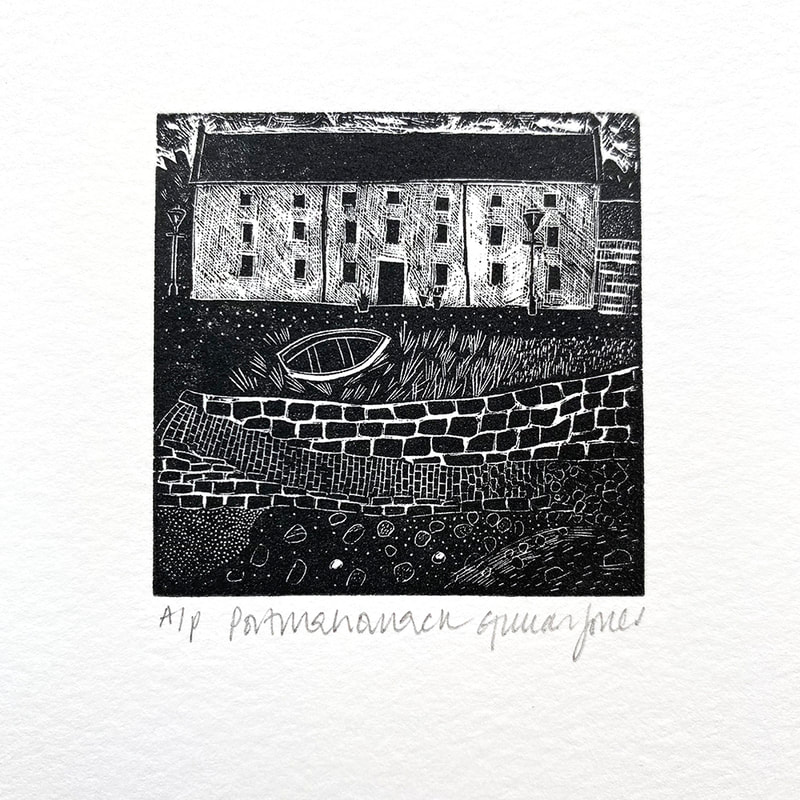
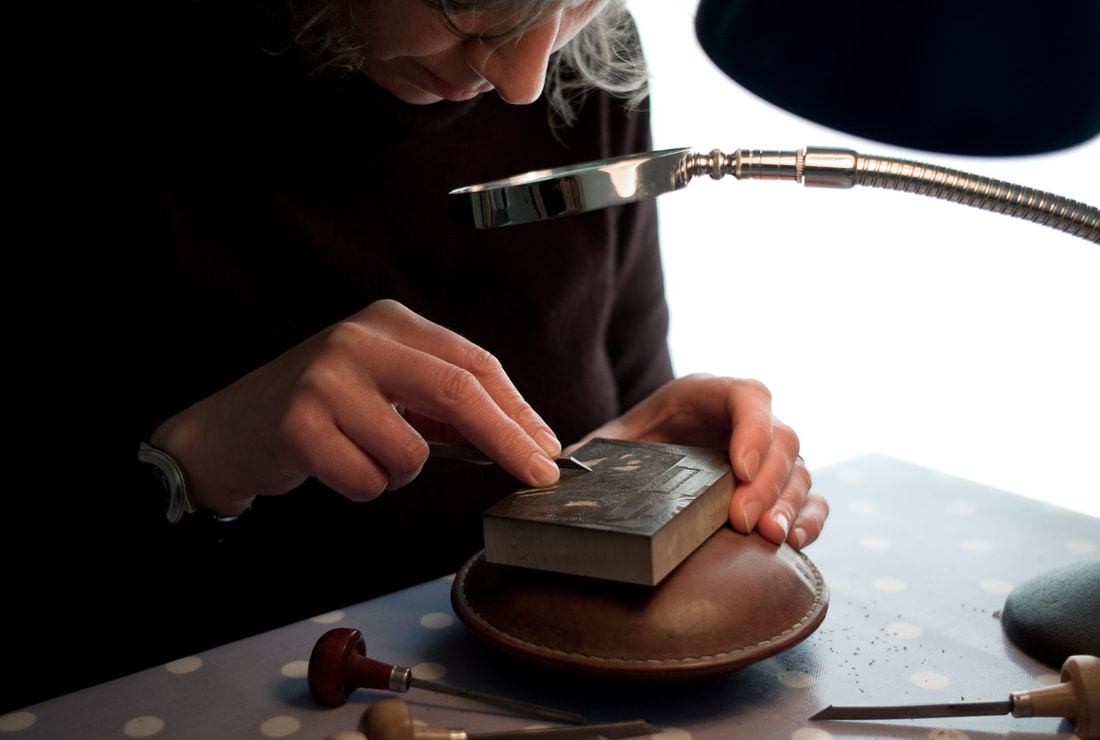
A wood engraving, in contrast to a woodcut, makes use of the end-grain of a piece of wood giving a much finer image characterised by delicate thin lines. A magnifying glass and specialist tools are used, including the ‘lozenge graver’, ‘spitsticker’ and ‘round scorper’. Hardwoods such as boxwood, pear, cherry and lemonwood are supplied in small pieces, often only a few centimetres in length. |
|
Linocut
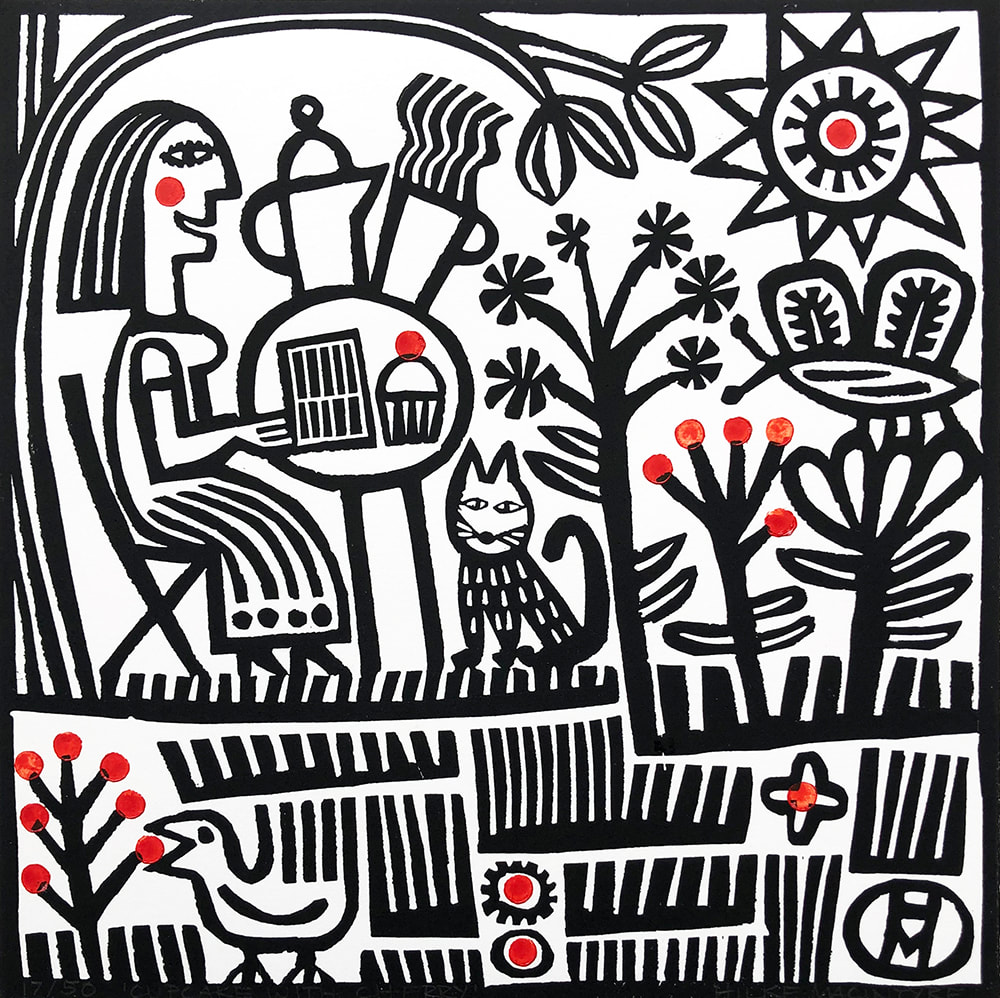
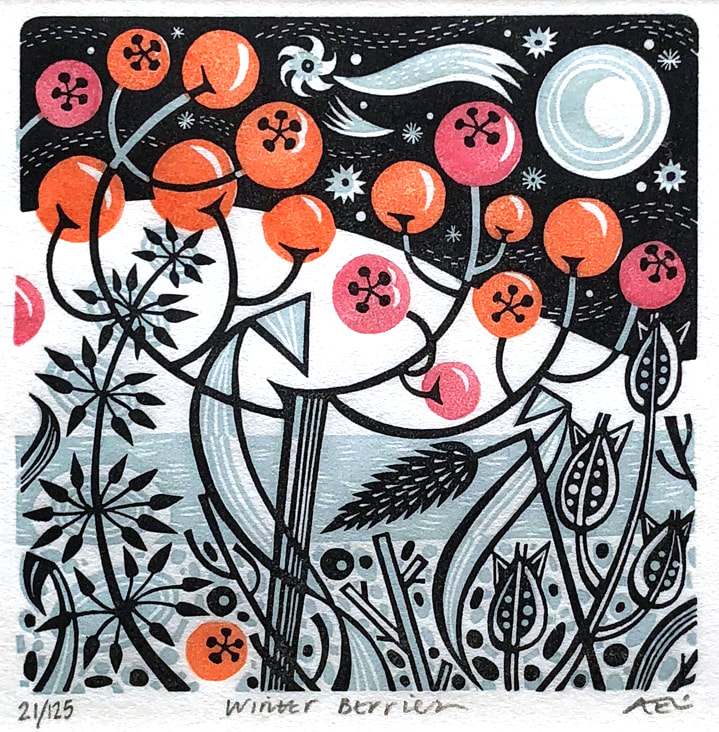
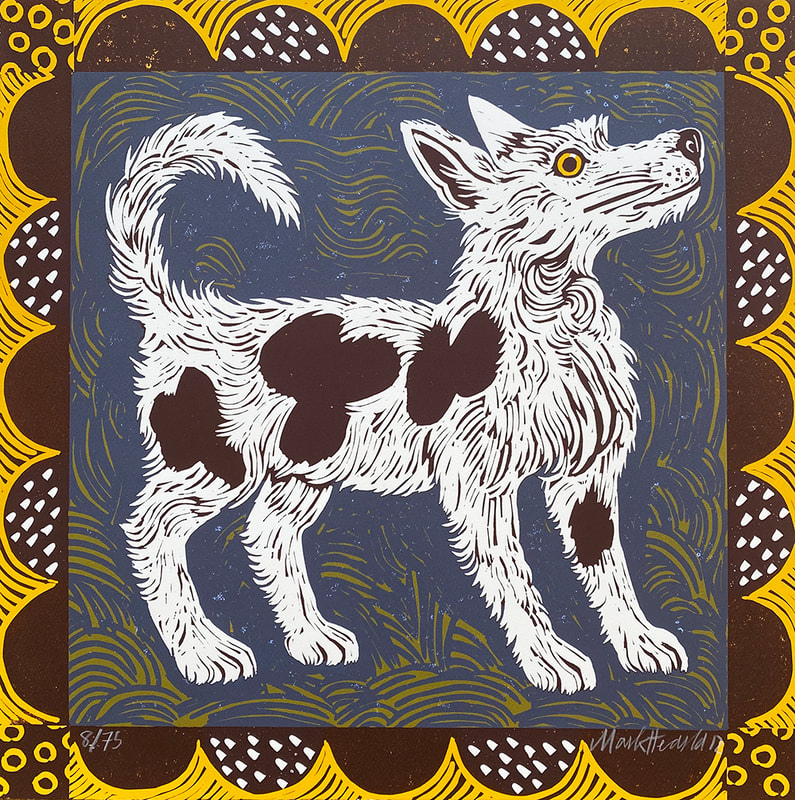
A linocut is traditionally created from linoleum, a flooring material made from cork and linseed oil. When warmed, it is soft and malleable allowing smooth flowing cutting lines. Once the image is cut into the lino a thin film of ink is rolled over the surface and paper pressed against the lino to release the ink from the lino onto the printing paper. This can be done by hand using a baren, the back of a spoon or the lino block can put through a printing press. Any lino removed from the block will result in this area not being printed, revealing the paper below on the printed image.
Colour linocut prints can be made using a different block for each colour. Alternatively, the ‘reduction’ method can be used using only one piece of lino. Part of the design is cut into the lino and printed, and then successive layers are also cut away and printed, each layer representing a different colour. Each colour is printed on top of the previous, thereby building up the image in layers of colour.
|
Collagraph
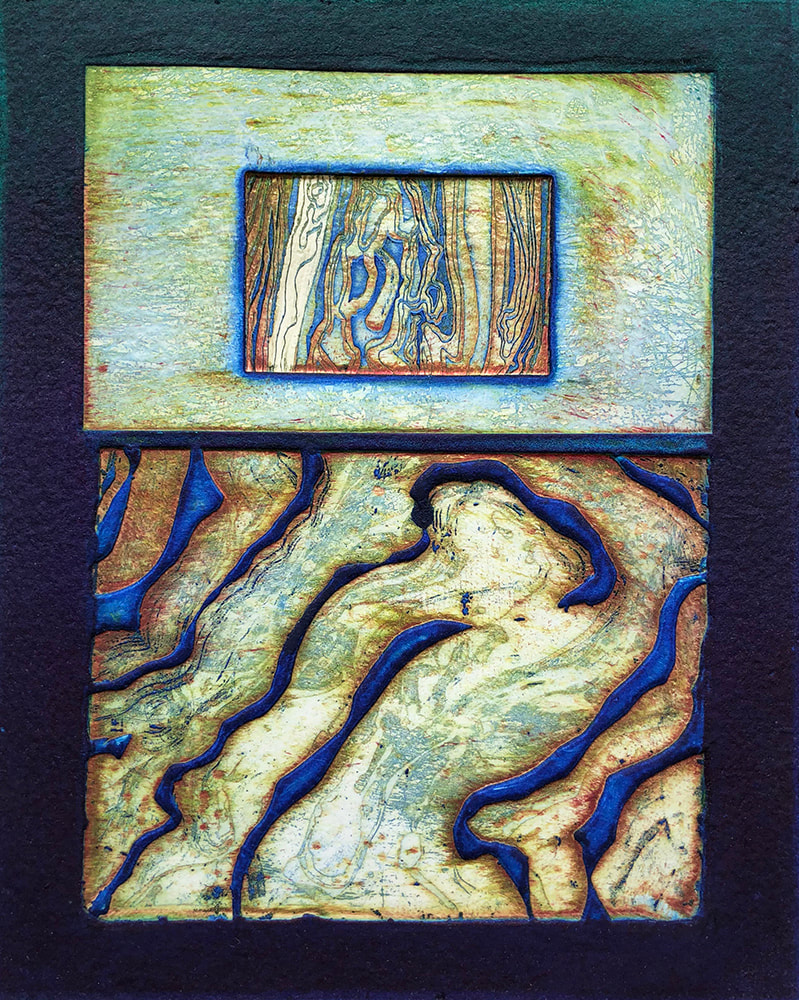
A collagraph plate is a collage of various print techniques and materials and it can be printed as a relief print or intaglio print. A collagraph print plate is made by gluing thin, found objects of different shapes and sizes to a base plate or by using modelling materials to build up lines and textures. Deeper embossments can be created by incrementally building up the layers, much like a staircase. Once the collaged plate is dry it is coated with a sealant for protection and then inked up, damp paper applied and put through a printing press. |
Screenprint
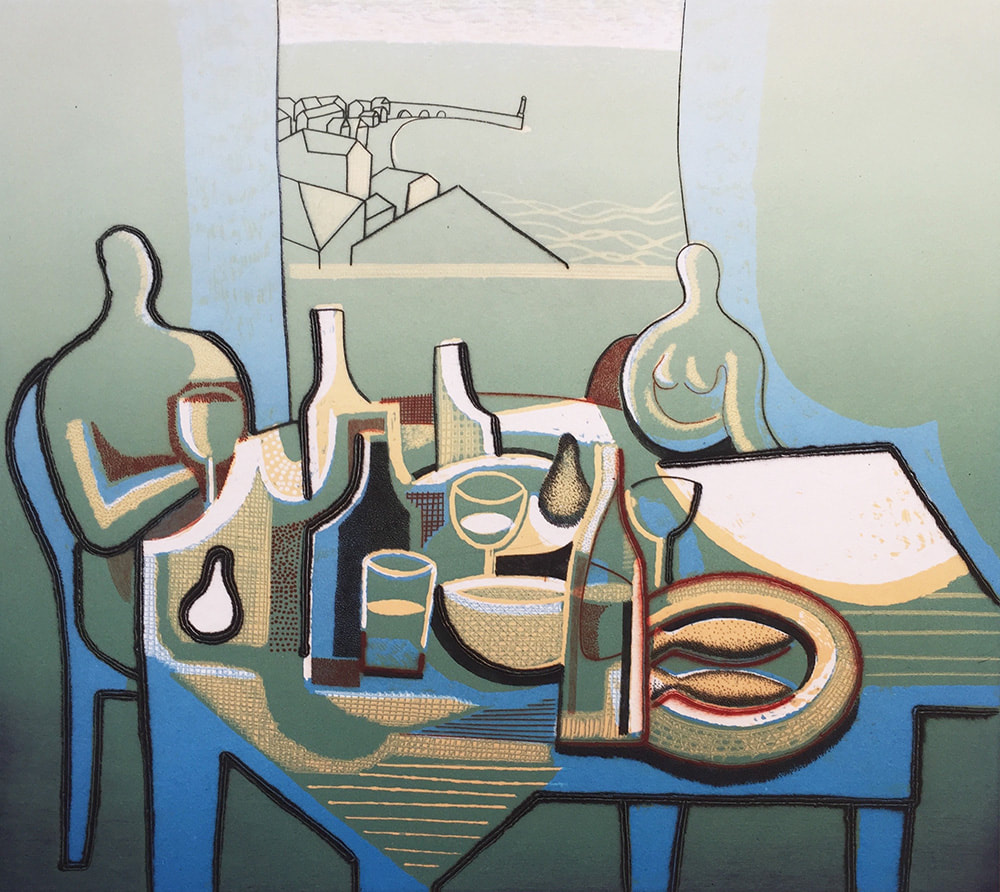
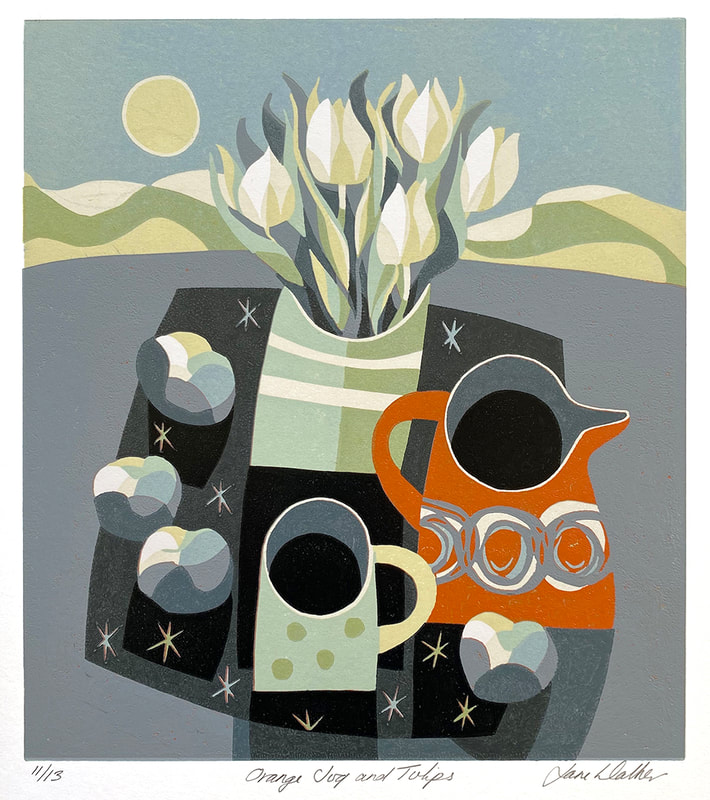
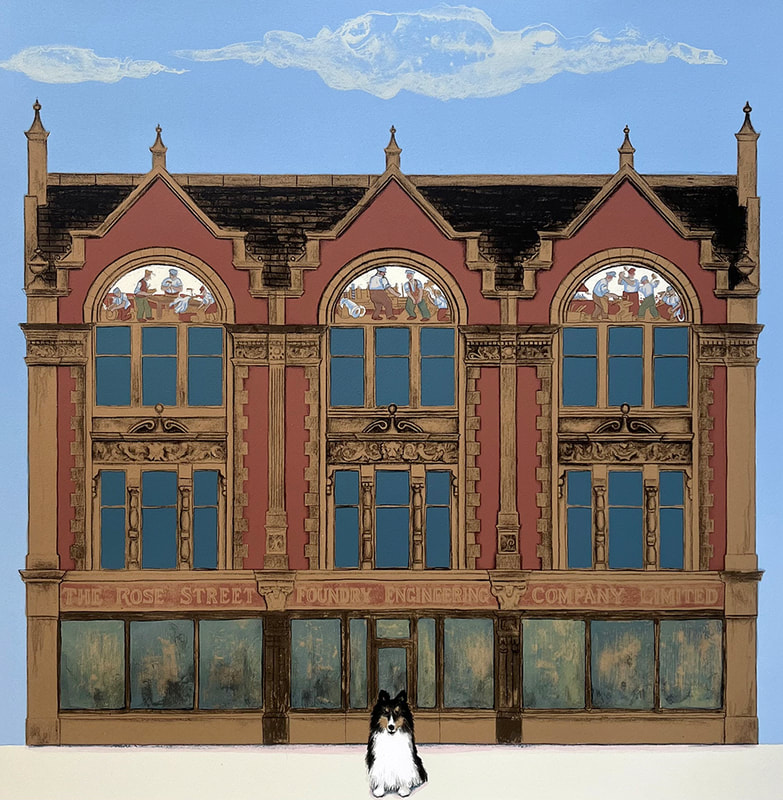
Screenprints are also known as silkscreens or serigraphs. The screen is a piece of gauzy fabric, usually polyester or silk, stretched over a wooden or metal frame. Selected areas of the screen are ‘blocked out’ either using hand painted liquid fillers, paper stencils or photographic stencils. Ink is then squeezed evenly through the unblocked areas of the mesh by means of a rubber blade or squeegee onto the waiting paper below. Separate screens are created for each required colour and one colour is printed on top of the next.
The inks themselves can be opaque or highly translucent and great skill is needed to understand the different colour and opacity combinations. Colours tend to be printed within well-defined areas and so this technique is most suitable for bold designs.
Lithograph
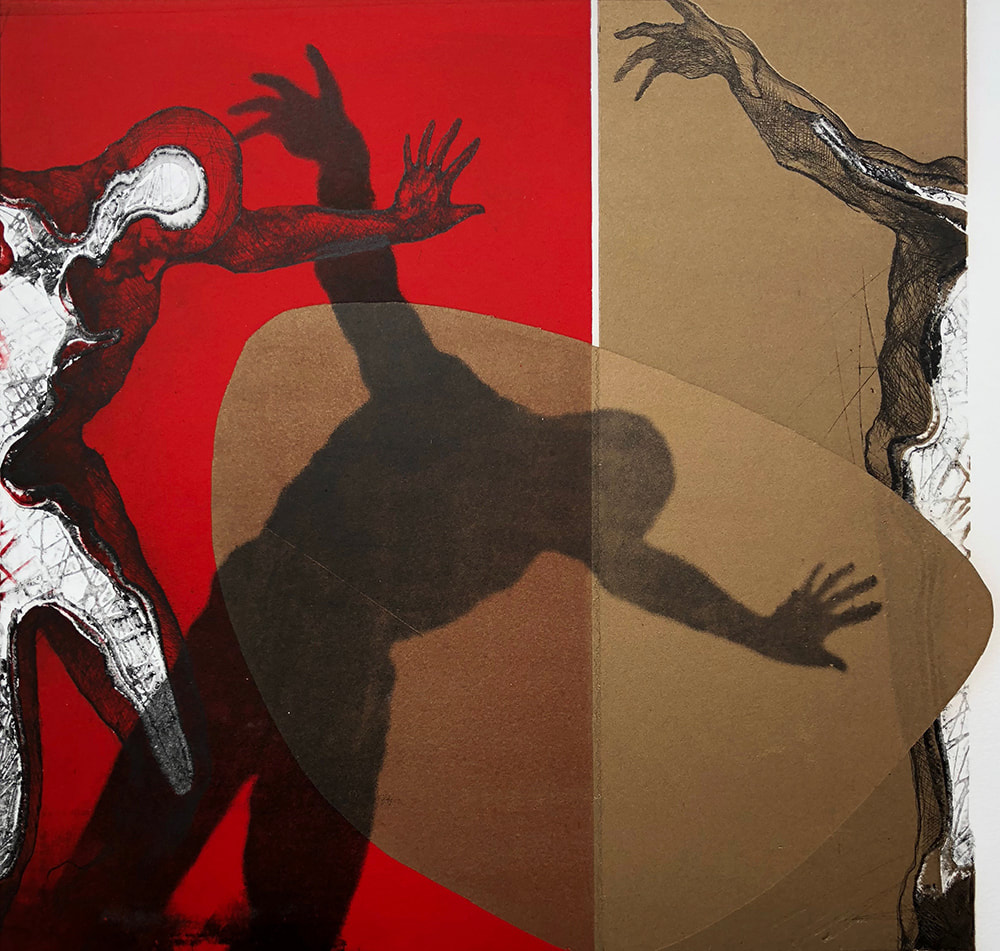
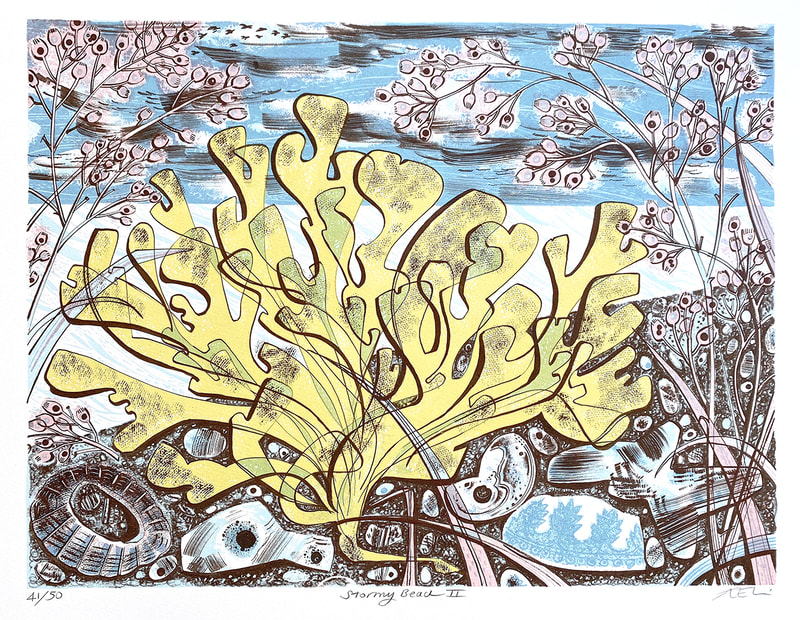
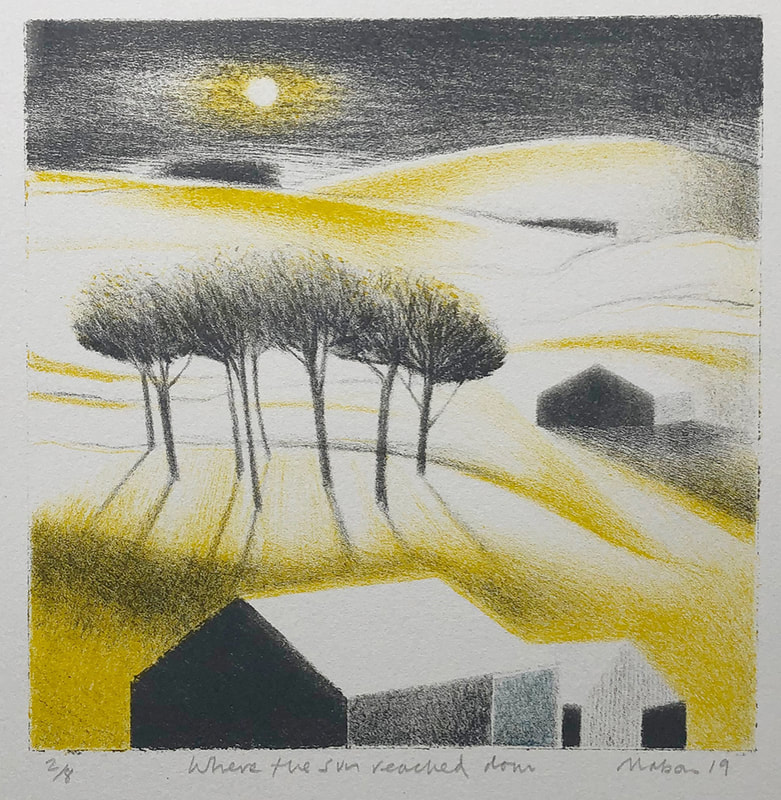
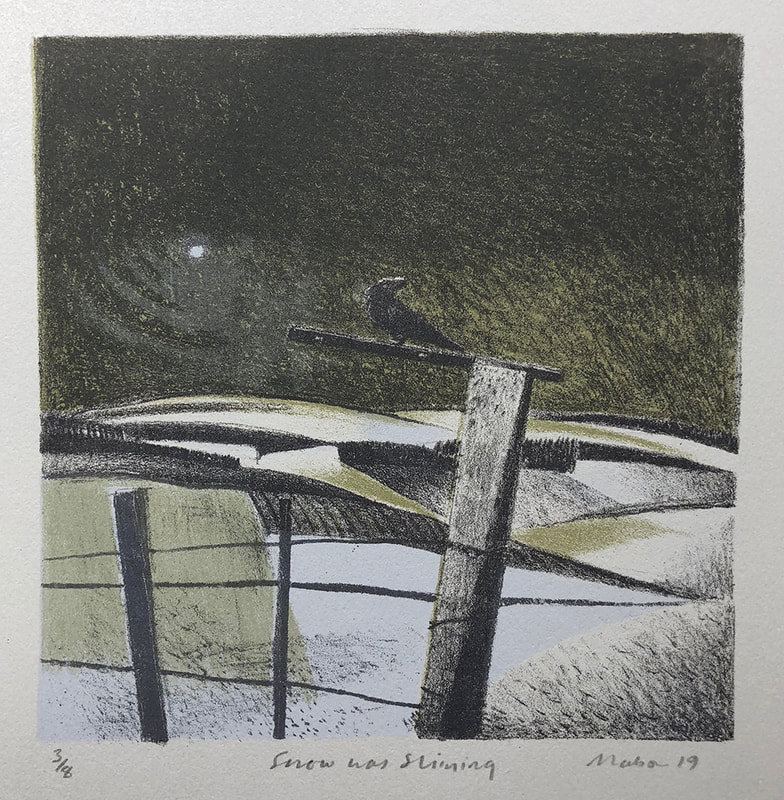
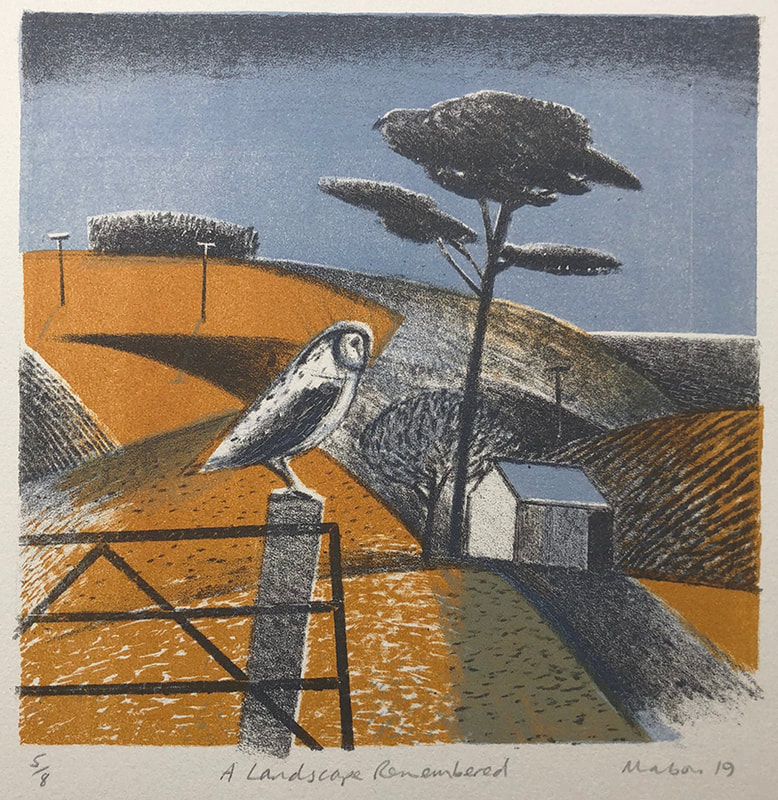
Lithography relies on the fact that oil and water do not mix. A slab of limestone, zinc or aluminium is first rubbed down to give a uniform, slightly roughened surface. The artist draws onto this prepared surface with an oil-based medium which can be either a lithographic pencil, crayon or chalk or a special liquid called ‘tusche’, which is applied with a brush. Alternatively, many contemporary artists prefer to make their drawings on ‘transfer paper’, which is then placed, face down, on the prepared surface and transferred. The final lithographic print will have exactly the same characteristics as the artist’s original drawing.
The undrawn areas on the printing surface are treated with gum arabic and nitric acid to make them receptive to water. The original drawing is then dissolved away but still leaves behind an oily layer on the surface. The entire surface is then wetted with water which seeps into the undrawn areas but is repelled from the drawn areas. Oil based printing ink is applied and adheres in a thin layer on top of the oily drawn areas. When paper is placed against the surface and put under a press, the lithographic print is created.
Colour lithography is made possible by creating a series of stones or plates, one for each colour used, so that one colour is printed on top of the next. It is not uncommon to use twenty or more colours for one image, which can be extremely complicated and time consuming.
Lithography is a ‘planographic’ process i.e. the ink is taken from the top of a flat surface.
